Thursday, October 16, 2014

Sewing Studio!

My sister moved to California this past September, and I've been working on converting her old tiny attic room into a cozy sewing studio/costume closet (at the very least, so I can have room for my own clothes in my bedroom closet...)


It's finally done! Now I can stop making costumes on the dining room table. I'm so excited to start working on some new costumes (if I ever have time...)

...and ECCC 2015 is only 5 1/2 months away...

Tuesday, September 30, 2014

ECCC 2014


We wore our gowns to ECCC 2014, and had an absolute blast. So fun being so pretty, and it made so many little kids happy. (My favorite child comment was "Your dress wasn't as pretty last year.")

Unfortunately, due to Ariel's redesign:


...most people thought she was dressed up as Aurora. BLARGH.

It was also my first time in the costume contest, and we placed SECOND in the group category! So happy to see hard work pay off! :D

Disney Princesses: Snow White

Unfortunately, by the time I was finished with the other two dresses, I had about a week and a half until Comicon and I was working six days a week, soo.... there are significantly fewer progress photos.

My design drew on medieval/Germanic/Austrian influences, and was heavily inspired by the lovely Claire Hummel's historical Snow White.

SO PRETTY.

You should really check her stuff out HERE. It's phenomenal. 

My Design

I tried pretty hard to maintain the original shape and silhouette of the movie dress. My first real challenge was coming up with a color palette that looked right but didn't look like this:

UGH.


I felt strongly that the yellow of the skirt was often exaggerated in costumes, and there was no way in hell I was going to wear fire engine red.

Just try and find that yellow. Just try.

My first stroke of luck was a necklace and pair of earrings I found at my local Value Village:

Just what I needed for a cream and red color scheme!

I splurged on the bodice fabric, buying more of my favorite upholstery fabric pattern (previously seen in my Ty Lee cosplay) in dark blue this time.

Look! It's got yellow AND red in it!

Luckily, I had some fantastic scores at thrift shops, snatching up a cream tablecloth with a sweet lattice pattern and a table runner in a deep red with cream and gold embroidery. YUS. Sleeves, and skirt -- check!

I whipped up the bodice in a day or so...

Lace, ribbons, and gold trim for the win!

...and made a basic circle skirt out of my table cloth. It's a good thing I'm short, or it never would have worked.


As it was, I still had to inset my contrasting fabric in order to make it long enough. The petticoat I made from the skirt of a $4 thrift wedding dress.


(The batting in the table runner made the sleeves REALLY poofy, just the way I wanted).

While the other girls got to use their natural hair, I'm a ginger, so it was a wig for me.

Needs darker eyebrows!

Because I was on a time crunch, I wasn't able to put as much detail into my dress. But... I kept adding more trim as the days of Comicon went by. I bought a brooch from a vendor and added red beaded trim, which in my head was a reference to the three drops of blood, but hey, I'm old fashioned with my fairy tales. :D

By the end, it looked like this:


As a finishing touch, I bought us all matching shoes.


Wednesday, August 20, 2014

Disney Princesses: Belle

My next challenge (and by far the most daunting) was making Belle's gold ball gown.


There were a couple of key things I wanted for this dress, which made it a big more involved but also produced a better result. Fabric-wise, I wanted to steer clear of yellow, as gold is more movie-accurate and really invokes the opulence of that ballroom scene.

 I wanted to have it all: the fullness of a ballgown and the fluidity with which the dress moves in the movie. (I know, it’s a cartoon. But I can make it real!) That meant hoopskirts and stiff tulle petticoats were out of the question.

Supplies! And GOLD!

 Instead, I started with a two-layer, 60 yard square dancing petticoat, which I lengthened to be full length.

...with sparkly fabric, even though it will never be seen...


 ....and stitched over 100 yards of gold tulle strips to it.


 And then I trimmed it with gold ribbon using an embroidery stitch because I don’t know when to stop.

For the skirt itself, I did not have a pattern. Before I started cutting, I took all the fabric I had and just pinned it up over the petticoat to get an idea of what fabrics I might like to use where, and what it might look like.


I decided to use a remnant of cream brocade for the front panel, make the overskirt from warm gold satin, and trim the flouncy edges with a curtain. I made the underskirt by adapting a simple skirt pattern. For the big overskirt (like, 10 yards of fabric big) I cut and sewed a skirt that was twice as long everywhere as I wanted the final skirt to be. I used seven panels so I could bustle along the seam line and have seven skirt sections.

Pinning the skirt to the waistband.

I used over-bustle points to pin the skirt up--longer in the back than in the front--and then threw in an underbustle point in each "section," following the curve of the skirt. Because there just wasn't enough hips already. :D

So French!

I just cut strips of curtain and sewed it to the edge of the skirt, putting in little pleats along the way.

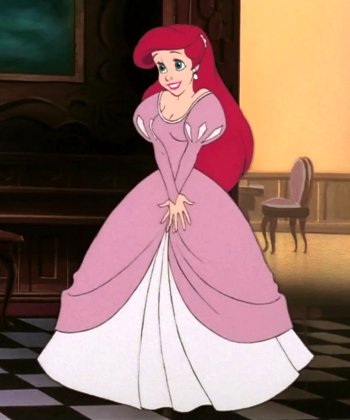
For the underskirt, I used the same Simplicity pattern I used for Ariel, with a few more panels added. The front panel was made from cream brocade, and the rest from champagne gold satin.

Trimmed with my favorite gold trim, complete with tiny rose motif!

The tiny gold roses on the trim is just another one of those details I just adore putting in.

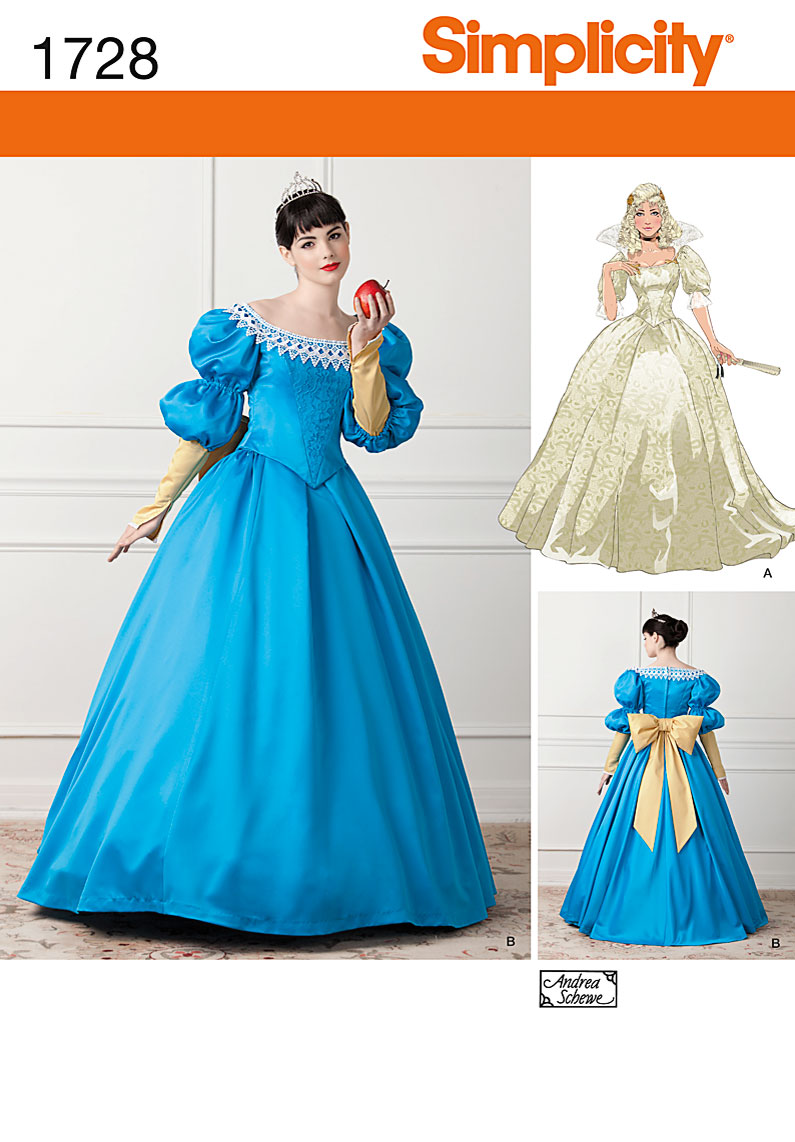
The bodice was last. I designed the bodice to go over a more industrial corset. I began with one of Simplicity's French court dress patterns, altering heavily to fit my Belle's corseted 40" - 28" - 44" figure.


Because the bodice was going to be over a corset, I just used plastic boning and interfacing. The fabric was a variety of brocades, mostly scrap yardage and curtains, ranging from cream to orange gold.


The finished touches included hand sewing on applique roses, gold sequin trim, bead trim and a big shiny brooch from the internet. The drapey sleeves were just another piece of the curtain I used on the skirt. I didn't even have to change it, it already had pleats and everything!


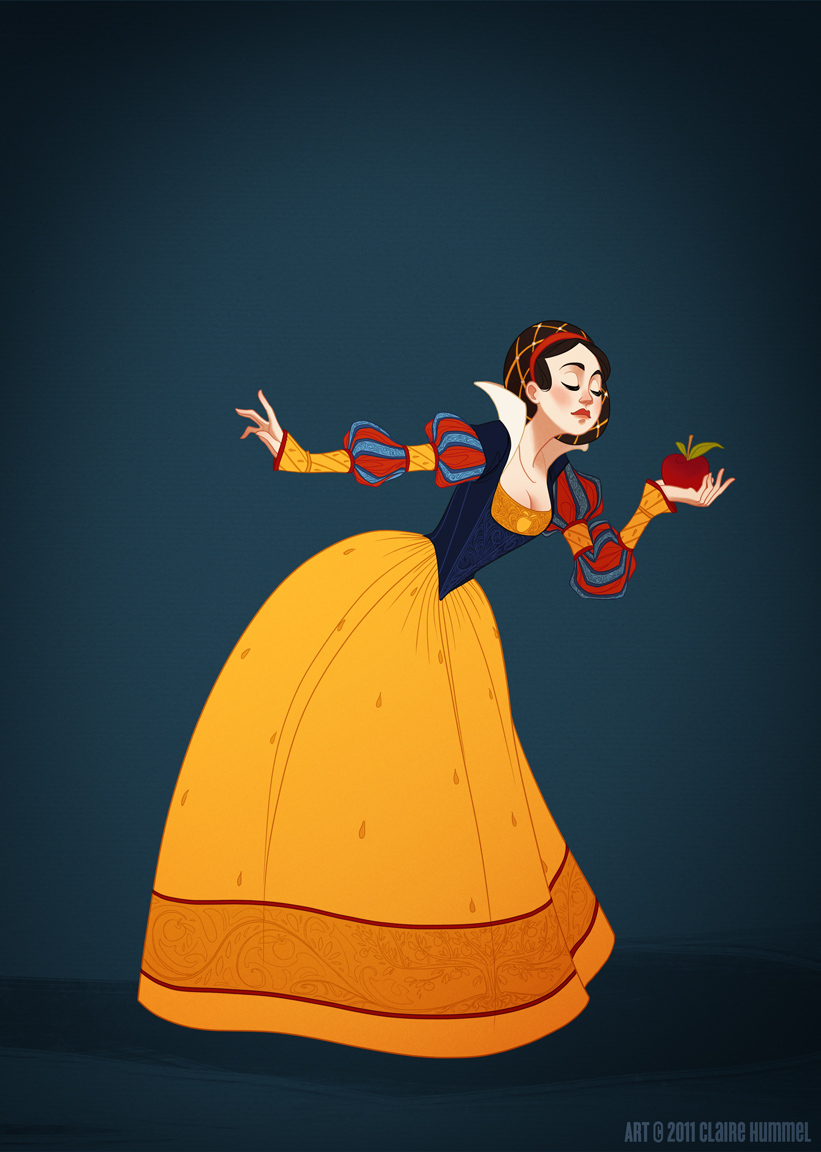
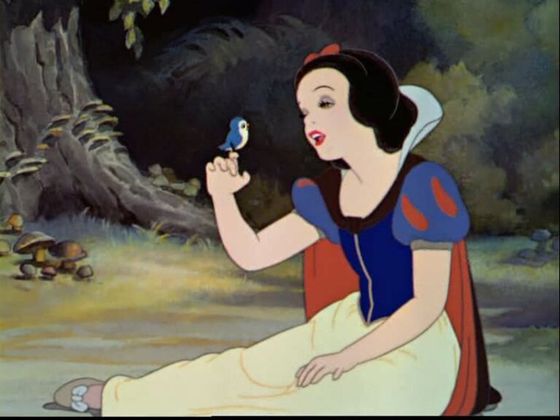
Of course, I worked with the right inspiration!

And then... voila!

All done! (Minus some trim!)


Saturday, August 2, 2014

Disney Princesses: Ariel, pt. 2

My next step was to make the bodice. I also followed the same pattern, as it pretty much matched my design. I used the same fabric as the over-skirt, but reversed. The wrong side of the fabric was matte instead of shiny, but still crinkly and pretty. I flatlined the bodice pieces with some scrap fabric and threw in some plastic boning for good measure.

Working on the bodice.

The bodice itself is lined with standard pink lining fabric, left over from a dress I re-purposed for a different costume.

To create some variety of textures, I splurged on half a yard of bridal-quality beaded net to use as an overlay on the bodice.

The back of the bodice.

The overlay fabric had a scalloped edge, which I cut off and hand-stitched onto the princess seams on the front of the bodice.

Trimming the bodice with gold!

Next, I had to make those fabulous poofy sleeves. I used the shiny side of my pink fabric, for variation. The main shape was cut out using the Simplicity pattern, modified for only one poof per sleeve. For the diamonds, I cut each shape out of double-sided fusible interfacing and ironed it in place.


I cut a slit out of the fabric, folded it back over the interfacing, and ironed it down to finish the edges. The sleeve "filling," as it were, was made from the same fabric as the underskirt. It wasn't puffy enough...

Close, but not the right shape.

...so I also stitched in some lengths of tulle, shorter than the sleeve itself. This did double duty, both adding more poof and pulling up the sleeves into the right shape. For good measure, I did some gold embroidery stitching around the edges of each diamond .

Setting the sleeves, my least favorite part.

The very last step was adding trim, and believe me, I went with the "more is more" attitude.

Pining on some trim, 

Most of the trim was hand-sewn on last, including some beaded net onto the overskirt. The beaded triangle centerpiece was ripped off a thrift store ballet costume.

All finished!

My Ariel even made her own jewelry!

Appropriate movie choices!


Jewelry in progress.
Accessories included gloves and a seashell purse.

We chose not to include the stuffed dolphin that came with the purse.

Disney Princesses: Ariel, pt. 1

My first adventure was making Ariel's pink dinner gown.


I struggled finding a historical basis for my design, since her off-the-shoulder puffy sleeves scream 1980s. I settled on 1860s Southern ballgowns, because of the silhouette. Fitted bodices, shorter overskirts, and wide necklines were all elements that I wanted to include. One of my main inspirations was this gown:

Courtesy of the Kyoto Costume Institute
I sketched up a design...


...bought a pattern to use as a base...

... and went to work!

I started with the skirt. Being thrifty, I found around 8 or so matching white, sheer embroidered curtains at Goodwill (score!) which gave me enough yardage to make three layers of skirt. I just followed the pattern exactly, since the underskirt isn't particularly complicated.

My workspace. One layer of skirt completed.

I had a bunch of rolls of 6" tulle, so I threw some on the bottom of each layer for extra poof.

Petticoats! Petticoats forever!

For the trim around the skirt, I used some scrap yardage of lace, hand-cut into a trim shape. Shiny blanket binding for the waistband, serged bottom edges.

A good days's work: Ariel underskirt (almost) completed.

For the swooshy overskirt, I used a Victorian bustle pattern, because I wanted to create the same curved drape without making something flat and boring. The fabric is a super shiny crinkle satin from JoAnn, which I selected for its drape and also because it was the only pink I found that looked good on redheads.

Lots of pick-ups!


Trimmed with bead trim and shiny gold.

I added a sheer fabric to the bottom of the underskirt to draw some of the pink down. I finished the edges with heat (and by that I mean I painstakingly moved the edges past a candle and tried not to asphyxiate on fumes).

The finished skirt.

The over- and under-skirts are separate pieces, each with snap closures. The bodice will cover the waistbands entirely. A $15 thrifted bridal petticoat gives the skirt the necessary fullness. Unlike Belle's gown, I didn't feel the need for Ariel's dress to be super fluid in its movement.

Saturday, July 26, 2014

Disney Princesses: Introduction

For Emerald City Comicon 2014, my primary cosplay group--a trio of wonderful ladies--settled on the theme of classic Disney princesses. That meant one cosplay for myself, and two commissions for my fabulous friends.

The chosen princesses were: Snow White (Snow White and the Seven Dwarfs), Ariel (The Little Mermaid), and Belle (Beauty and the Beast). While Snow only has one classic outfit, for the other two princesses we chose Belle's gold ballgown and Ariel's pink dinner dress.

I designed each gown with a focus on realism, interesting textures/fabrics, and details. I drew inspiration from historical fashions, and numerous re-watchings of the movies. I really wanted to play and make each dress visual interesting close-up and from a distance, while maintaining a recognizable silhouette.

Because these were my first truly HUGE cosplay projects, I actually documented the process of making each gown. And so....

Supplies!

Welcome

Hi Internet!

Because I'm pretty sure my Facebook feed is sick of me posting endless photos of petticoats, I've decided to create a separate blog to record the process of creating my costumes. For those of you interested in the minutiae of creating lined bodices, or making pleather shoe covers, this is the place for you!

Much shininess to come...

-Anna
Ginger Armadillo Costumes