For both Starfire and Raven, I needed gems. Big, fabulous gems! I decided the best way to do this would be to cast them out of resin myself, so I could customize the size, color, and shape. I'd never done anything with resin before, but it seemed fairly straight-forward to learn, so I bought a bunch of two-part clear resin and went to work.
 |
| The exact kind of resin I bought. |
Based on my designs, I knew I wanted to make the two styles of gems as different as possible from each other to reflect Starfire and Raven's different backgrounds. I stuck with bright green for Starfire, to mimic her Teen Titans TV show look, and dark red for Raven. Starfire's would be oval; Raven's circular. Starfire's would be smooth, and Raven's faceted. And so on. Tamaran and Azeroth are distinctly different places, and I wanted the outfits to show that as much as possible.
Ovals are easy to find, so I bought a mold for Starfire's small gems.
 |
| Way more shapes than I needed. |
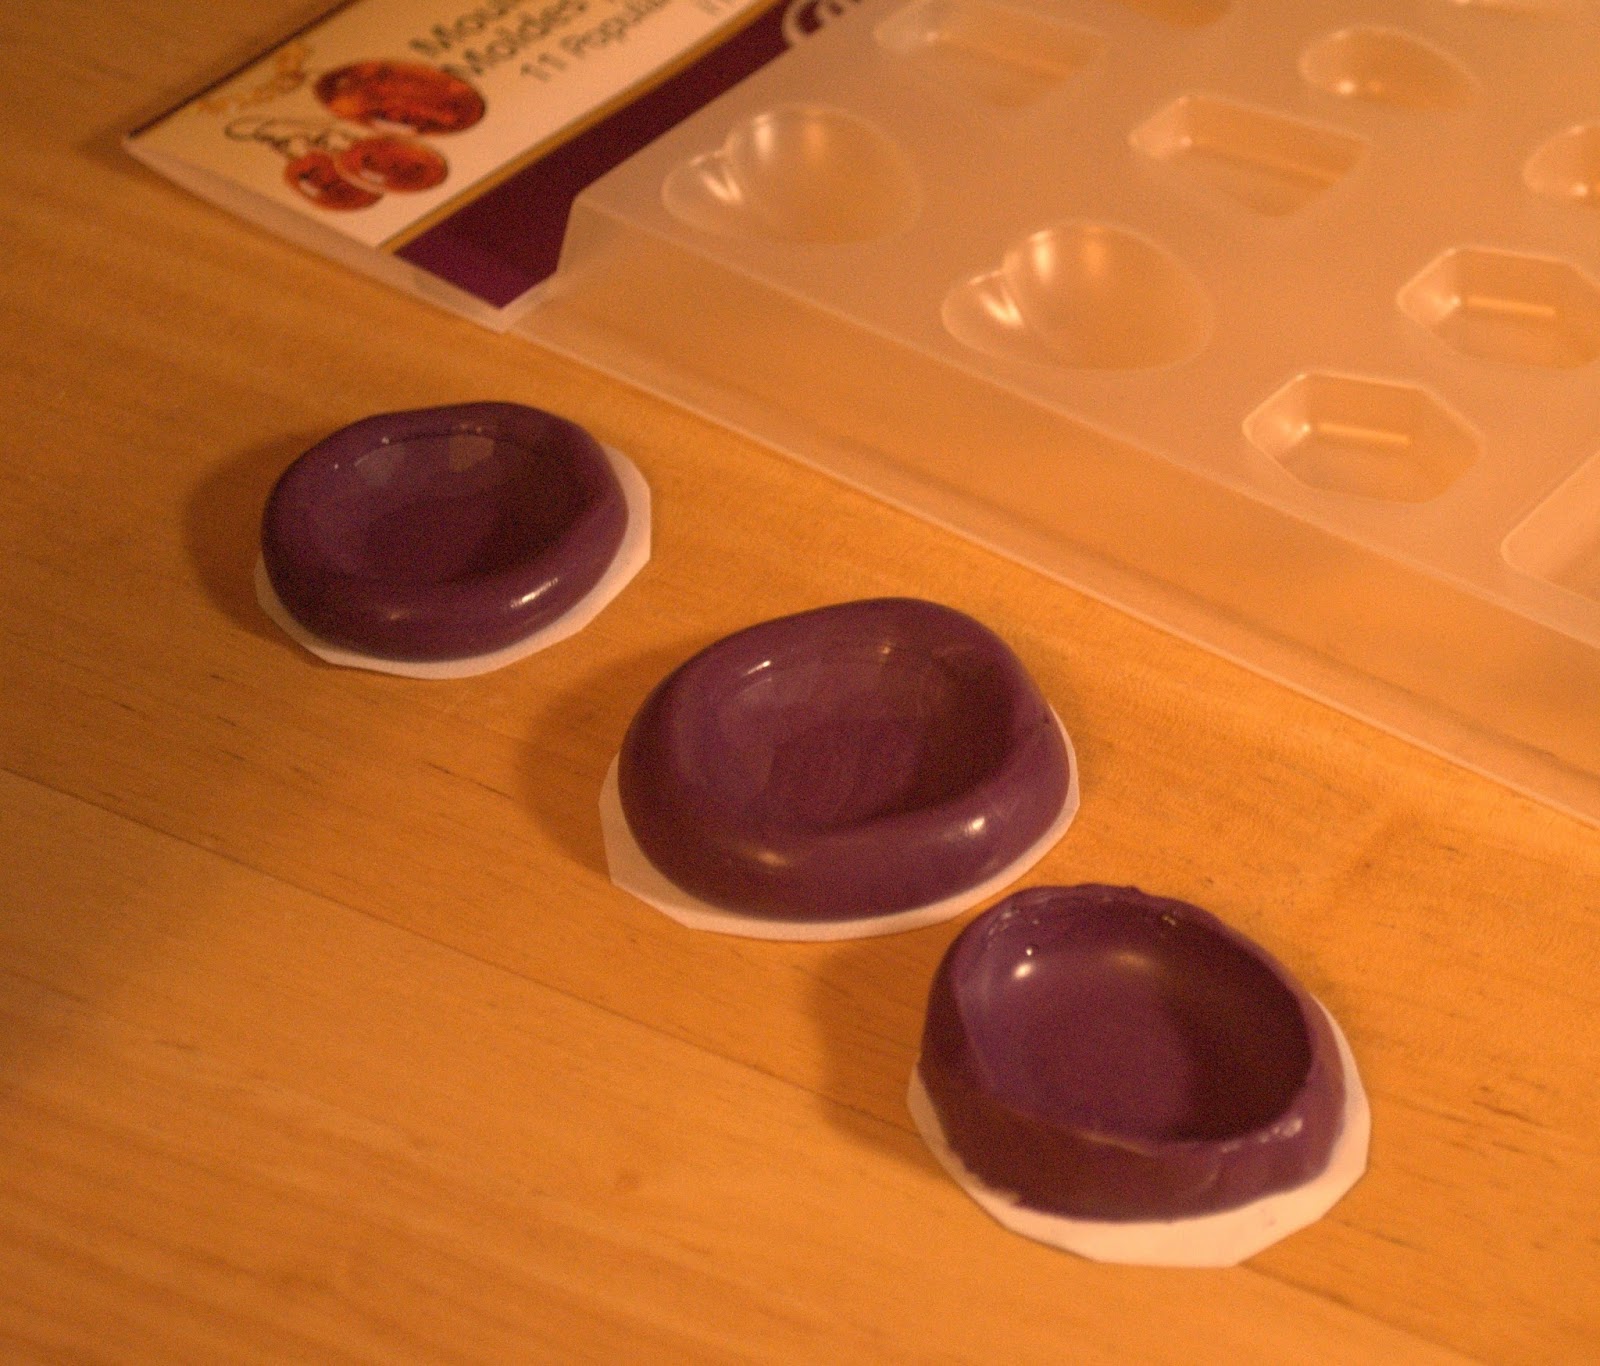
The big ones turned out to be a problem. I wanted them to be about 3" the long way, but struggled to find a resin mold that big. Then I realized I could use a silicone cooking mold instead!
 |
| Yay, totally big enough! |
Obvious, this mold was huge, so I decided to just fill it up part way, varying how much resin I would use depending on what size gem I wanted. That way I could have a variety of sizes.
Finding a faceted gem mold was much, much harder. I simply couldn't find anything I liked. I just wanted the gems for Raven to look like the top of a faceted diamond. So I made my own molds!
 |
| Easy to use, two-part mold putty! |
My sister has a bunch of medium sized diamonds from her D&D campaign, so pressed the tops of those into the mold putty to make my small gem molds. For the big gems on Raven's belt, I had to buy a diamond that was massive:
 |
| This diamond goes on to feature in many Catwoman photoshoots |
 |
| Some finished molds |
Now that I had molds, the next step was to figure out how I was going to color the resin. I read that just using paint would mess up the resin somehow, but I had some wax dye from making candles, so I figured that might work just fine.
Wax dye is super concentrated, so the first (right) try was too dark, and the second, lighter color was still not right at all.

 |
| Nowhere near that electric space green that I wanted |
Okay, where am I going to get neon green? I just want it to be just like the color I used to highlight my Hordes troll miniatures....
Wait, could I just use that? I mean, I didn't care if the gems were "cloudy" since I wasn't putting the resin over anything...
 |
| Privateer Press model paint to the rescue! |
It worked amazingly well. Totally nailed the color. (I used Necrotite Green, for those interested).
Luckily, the deep red for Raven was easily achieved with my wax dye.

One of the most important things about resin is that it won't set up properly if the parts are not equally measured and mixed. I guess I'm a bit of a scientist at heart, because I figured the best way to do this was to use giant syringes (the kind usually used for children's medicine or whatever). I labeled them so that I didn't have to wash them, I just used them over and over for their respective parts. It was great, because not only was it perfectly even, but I could be like "small gems need 25 ml of each" and have them all be exactly the same size.
Then it was time to go crazy and make them all! I knew I'd need a lot of small ovals for Starfire (around 20) so I made a couple molds of my ovals so I could make four at a time.

 |
| Gem bonanza! |
For Raven's gems, I really wanted to add a little something extra, since dark red isn't very visually interesting. It doesn't really pop the way neon green does. I bought a beautiful resin brooch for my Snow White costume, which had moonstone fragments inside. It caught the light in a really nice way, and I wanted to replicate that. I settled on using cellophane glitter flakes--nice, big ones--in pink.
 |
| Sparkles! |
I pour a little resin into each mold, then sprinkled copious flakes in on top. The rest of the resin was poured over the glitter. If there were bits of glitter poking up, I pressed them into the resin with a toothpick.

 |
| All finished! |
 |
| The various gem sizes for Raven |
 |
| Most of the Starfire gems |
I covered all the gems with a polyurethane clear varnish for extra shiny. I also had LEDs that I was going to use to light up Starfire's armor, but I ran out of time to incorporate that into the costume.
 |
| So shiny! |
The last piece for all the gems was the setting. It took me a few tries for each to get it right....
 |
| Hot glue and gold paint = NO |
For Raven's small gems, I settled on brass wire held together with copper tape.
 |
| Wrapping the wire took all day basically |
 |
| On a finished glove! |
For the bigger belt gems, I cut the settings out of sheet brass:


It was hard, and I'm not particularly comfortable with metal working, but I think it turned out okay!

I used copper tape to hold the metal to the gems, just like the smaller ones.
On the finished costume:

For Starfire, I settled on rubber rings painted silver, and covered with silver car vinyl.


For the bigger gems, I cut out craft foam settings, which I painted and covered.

Finishing touches were rhinestones! Moar rhinestones!

On the finished arm cuff:

No comments:
Post a Comment